 |
| "It's the end of the world..." |
The concept for this image came to me rather easily once I understood the meaning of "Gotterdammerung". Merriam-Webster defines it as "a collapse marked by catastrophic violence and disorder" while old Norse mythology refers to it as a battle between gods and evil resulting in the end of the world.
What I'm trying to capture is a drinking session that is engulfed in flames. This will be a low-key shot that requires a composite to get the look I'm after. A composite image is one that is made up of two or more distinct images. This one used seventeen, the base image is made up of five and the flames are made up of twelve.
I planned on five images to create the base composite:
- Left edge
- Right edge
- Label
- Beer (body)
- Beer (head)
To capture the left edge shot I placed a stripbox behind and to the left of the subject as seen in diagram 1. I inserted a diffusion panel between the stripbox and the table in order to soften the edge. I feel it's important to define the edges of bottles/ glassware in low-key shots otherwise the subject get's lost in the background.
 |
| Diagram 1 |
 |
| Base Composite - Left Edge |
To capture the right edge I moved the stripbox to the right side and repeated the process. Since I only have one stripbox, I have to backlight in two steps.
 |
| Diagram 2 |
 |
| Base Composite - Right Edge |
My main light is a 16" Beauty dish and I set it to the left about 45 degrees off camera axis as seen in diagram 3. I took two shots here, one for the label and one for the beer head. Each shot required different exposures and I accomplished that by adjusting the power output from the flash strobe.
 |
| Diagram 3 |
 |
| Base Composite - Label |
 |
| Base Composite - Head |
The last image I need to create the base composite is the body of the beer. I used a white foamboard placed behind the beer and lit it with a strobe using a ten degree grid as seen in diagram 4.
 |
| Diagram 4 |
 |
| Base Composite - Beer |
I brought the images into Photoshop and used layer masks to build the base composite.
 |
| Base Composite |
To capture the flames I turned off the strobes and moved them aside. I Placed rubber cement on the glass surface in the pattern shown in diagram 5. I lit the cement and triggered my camera with a remote. I captured approximately 30 images before the flames burned out. I did this three times collecting about 100 images in all. After reviewing the flame images I settled on twelve images to use in the final composite.
 |
| Diagram 5 |
 |
| Flames |
In Photoshop I added the portion of each flame that I selected into the base composite by using layer masks and blending modes. Once the final composite was built, I finished the image with a little retouching, enhancing, cropping and sharpening.
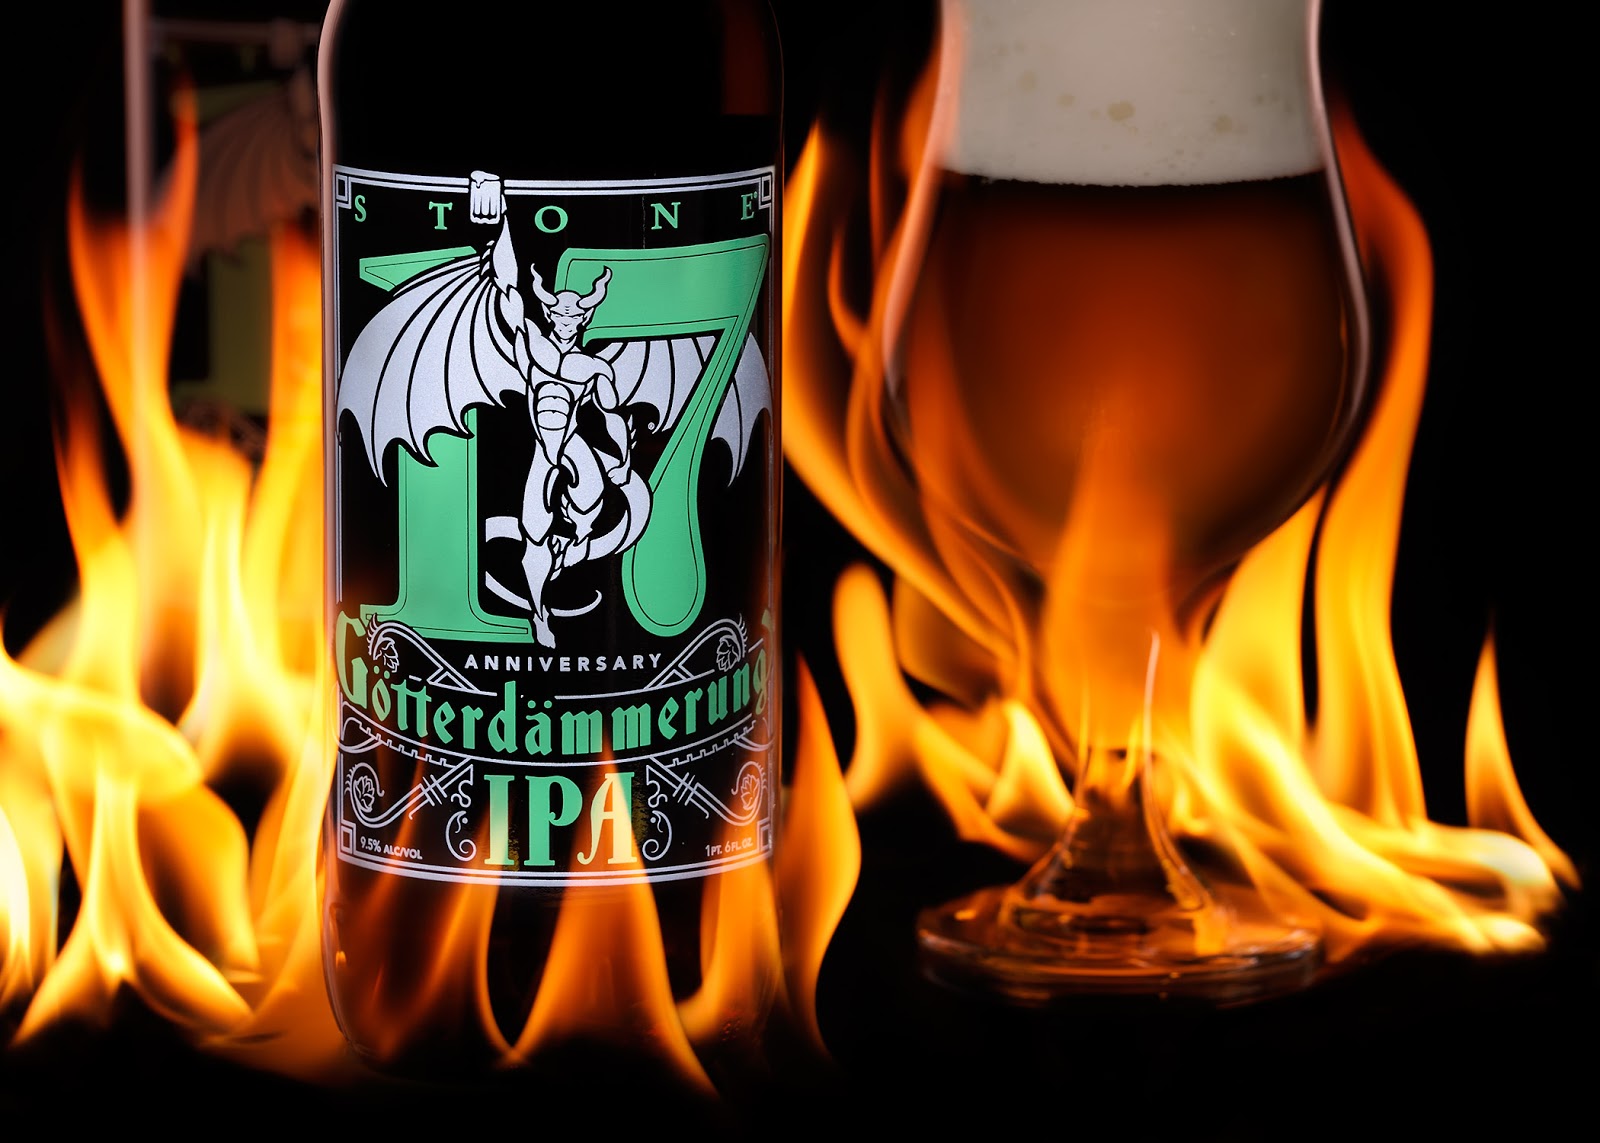 |
| Final Composite |
I'm happy with the way the final image turned out, pretty much looks like the vision I had in my head. The session was straight forward, no real issues to speak of and the house is still standing.
No comments:
Post a Comment