 |
| Final Image |
Develop the Concept:
I had a rough concept in mind for an Independence Day shoot. Bottle of beer back lit by fireworks using a slow shutter speed to produce light trails. I wanted a low key shot (dark environment) to better highlight the fireworks. Also, I wanted the background slightly out of focus to better emphasize the foreground subject.
 |
| Sparklers and Morning Glories |
The Setup:
The shoot took place in my garage/ brewery/ studio. It provided the dark environment I wanted and was safe enough to light sparklers, but just in case I grabbed a couple of fans, fire extinguisher and a bucket of water.
My shooting table was made up of a decorative round table, large black foamboard and a large piece of glass from an unused picture frame. The black table will aid in giving me the low key look I'm looking for and the glass will provide reflection as well as provide a surface that won't burn.
I use two more black foamboards, one as a background and one as a flag to block unwanted light entering from the side window.
 |
| The setup |
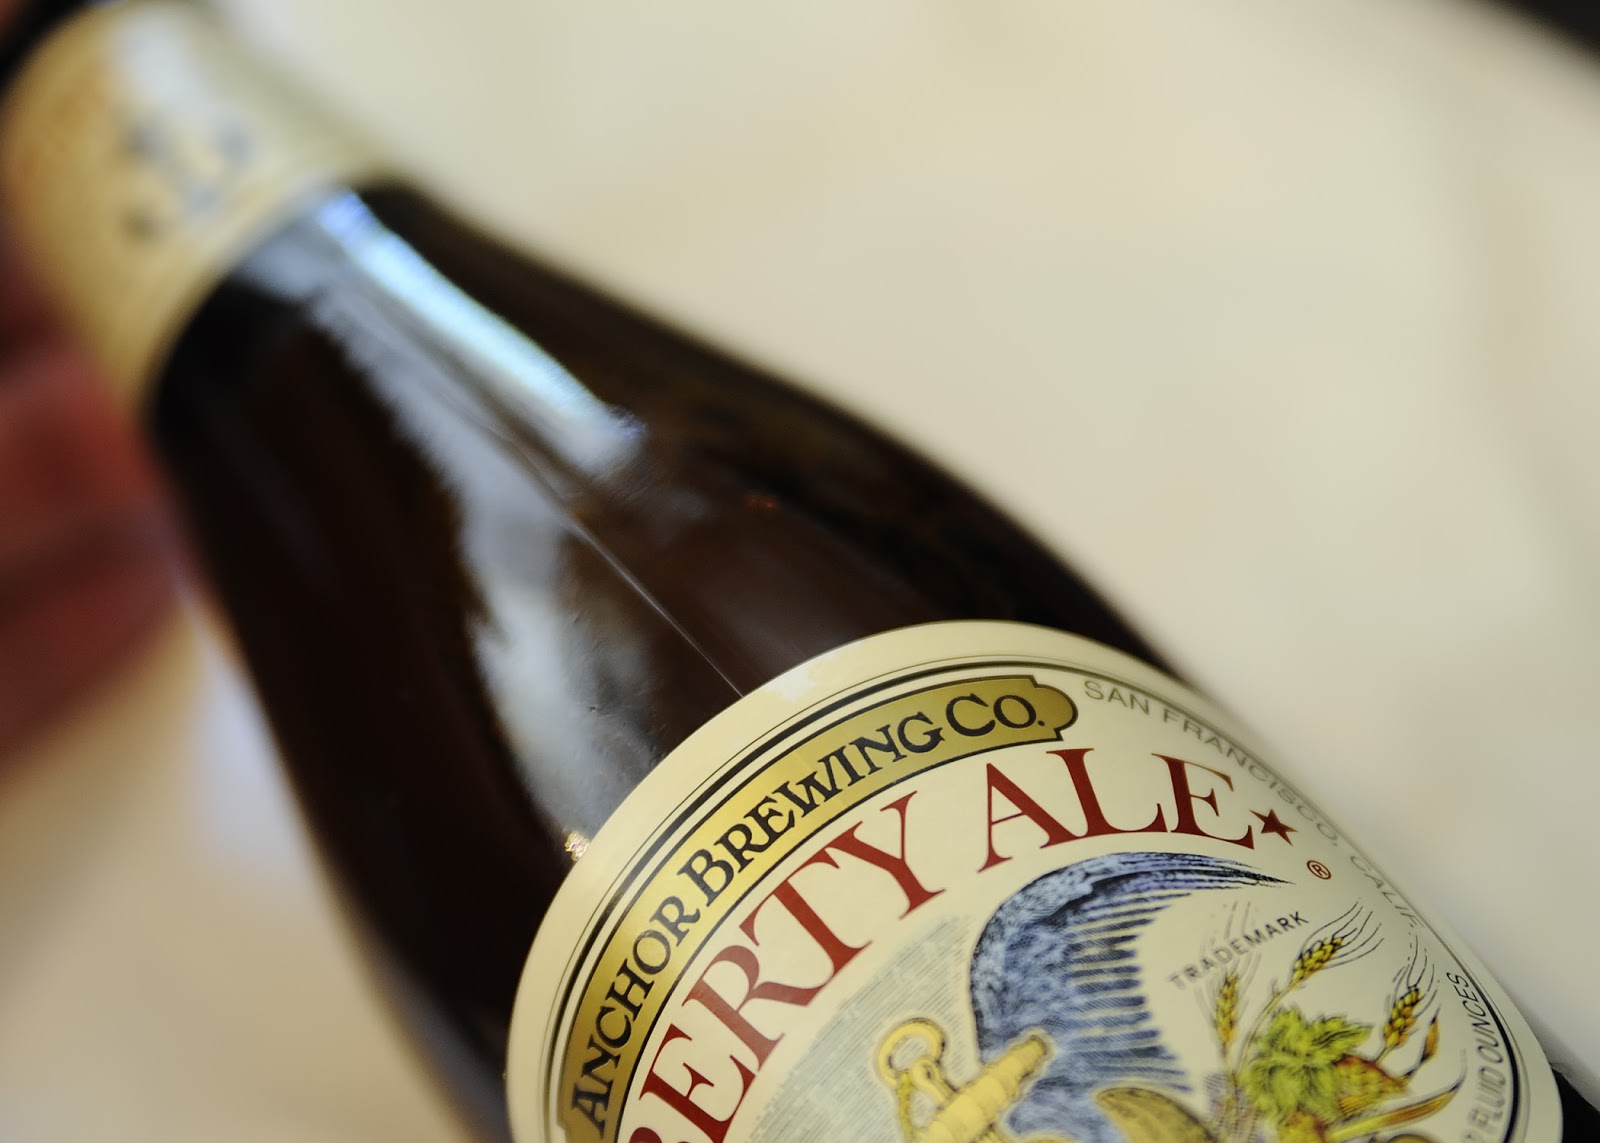
The Prep:
I used a damp cloth to wipe down the bottles and the six pack holder making sure to remove fingerprints and smudges. Next, I need to select the bottle that will be the foreground subject. I look for a label that is in good shape, no rips or tears and the bottle seam is located on the side of the label. This will reduce Photoshop clean up work in post-production.
 |
| Seam down the center...not in my image |
The Lighting:
My plan was to use two light sources. The sparklers will act as one light source providing a backlight to define the shape of the bottle, give it a glow and light the six pack holder. The second light will be a studio strobe w/ 10 degree grid (camera right) to light the label.
 |
| Lighting Diagram |
The lighting plan is fairly simple, the challenge is the sparkler "light source". First, I had to determine which I preferred, sparklers or morning glories? Next, I had to determine how many to use to get the amount of light needed to get a good exposure. After some test shots I decided to go with 3 morning glories. Lastly, I dialed in the strobe light until I achieved the exposure I wanted for the label.
 |
| Channel locks holding morning glories in place |
 |
| Test shot with 3 morning glories (no main light) |
I used a Nikon D700 mounted on a tripod and setup to be triggered by a wired remote. The studio strobe was an Alien Bees B800 with a 10 degree grid and a softbox trigger by a wireless transmitter.
DSLR: Nikon D700
Lens: 80-200mm f/2.8D
Focal Length: 135mm
Aperture: f/4
Shutter Speed: 1/2s
ISO: 100
Flash Mode: Rear Curtain Sync
The Shoot:
With everything in place it was time to capture images. I loaded up the channel locks with morning glories and lit the fuses. Once they started sparking I began to shoot. The sparks lasted around 30 - 40 seconds and on average I captured 10 - 15 images per load. I dumped the spent sparklers into a bucket of water, opened up the garage doors, turned on the fans to let the garage air out. While the smoke cleared I reviewed the images. I went through this process 5 times before I got what I wanted.
Post-processing:
The image was post-processed in Photoshop CS6. It was a fairly standard process, some clean up with the spot healing brush, removed the reflection from the main light, boosted the colors and contrast and finished it off with some creative cropping.
So, there you have it.
I hope this gives you some insight into the process I used to go from concept to final image.
No comments:
Post a Comment